The ship configuration door is next! This is going to be a fun one. Why? I get to make the space ship that the player flies around in! This is going to take me a while…
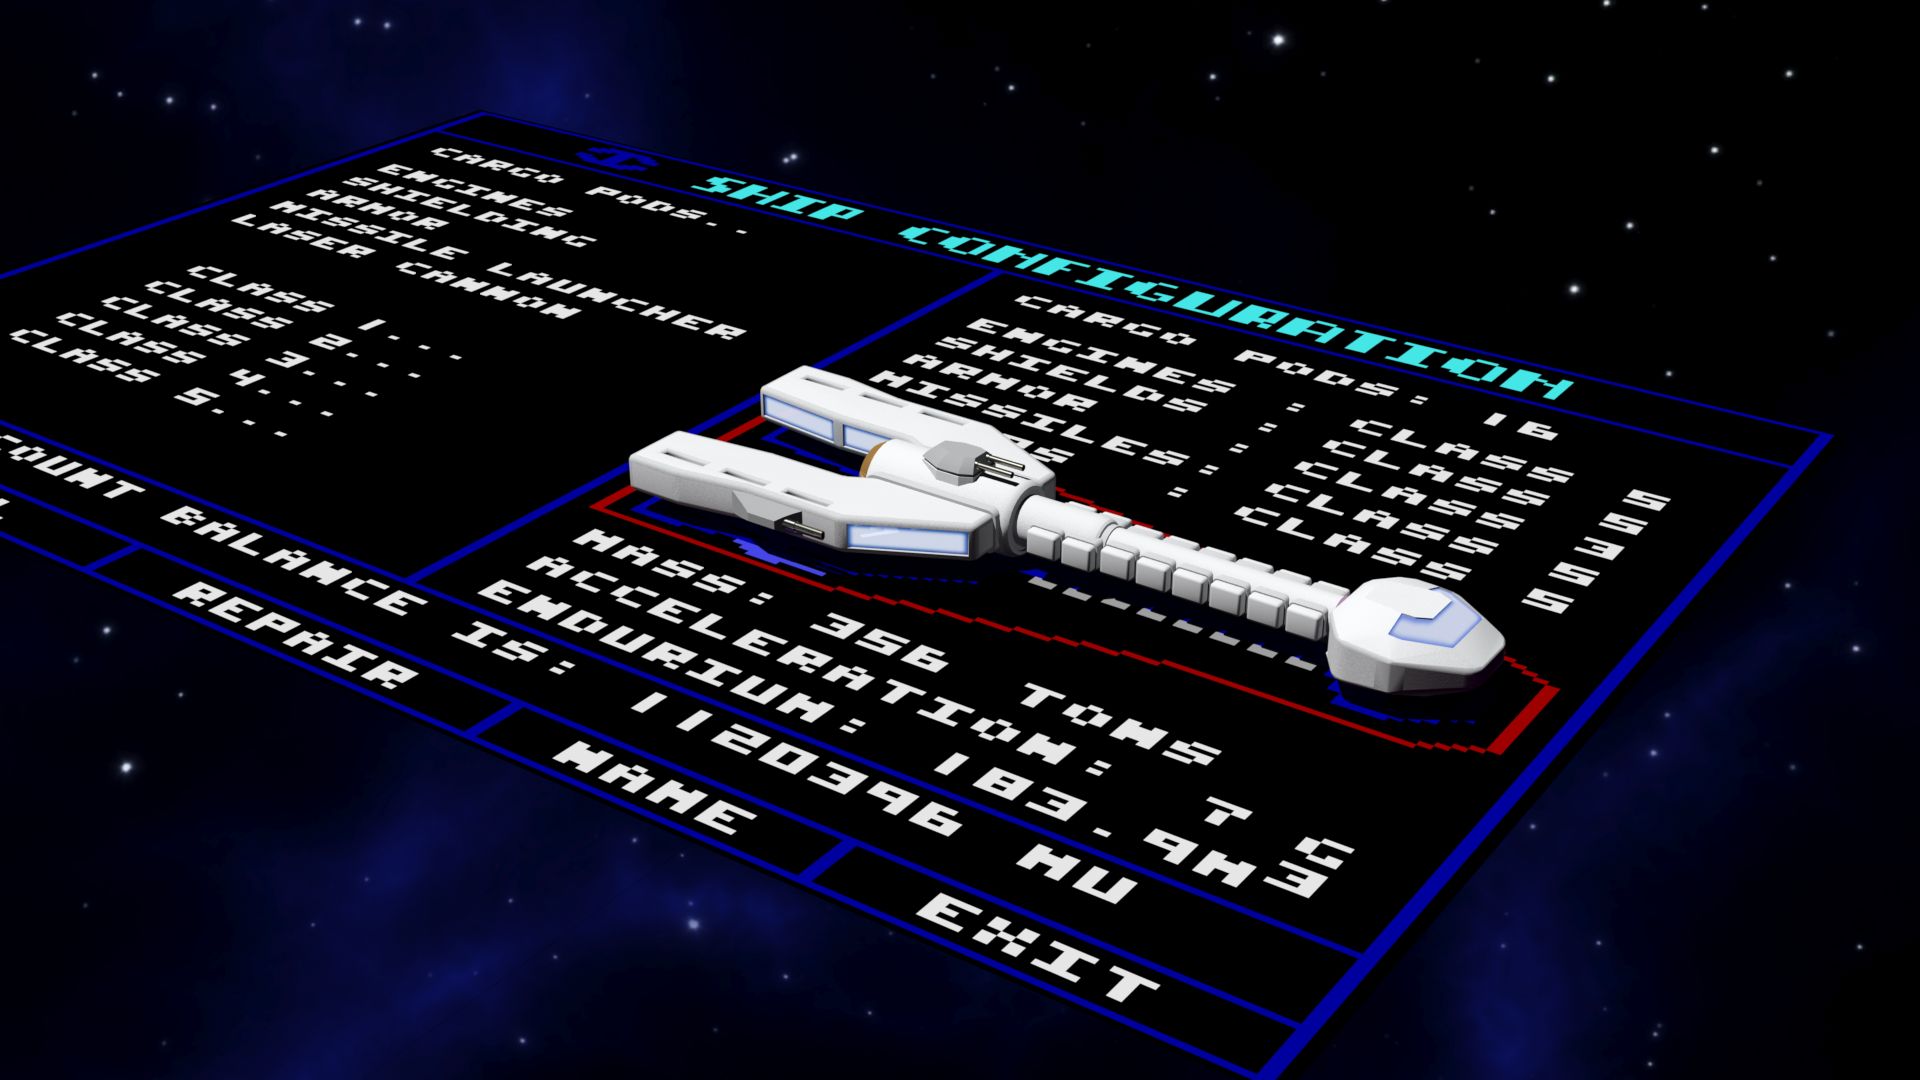
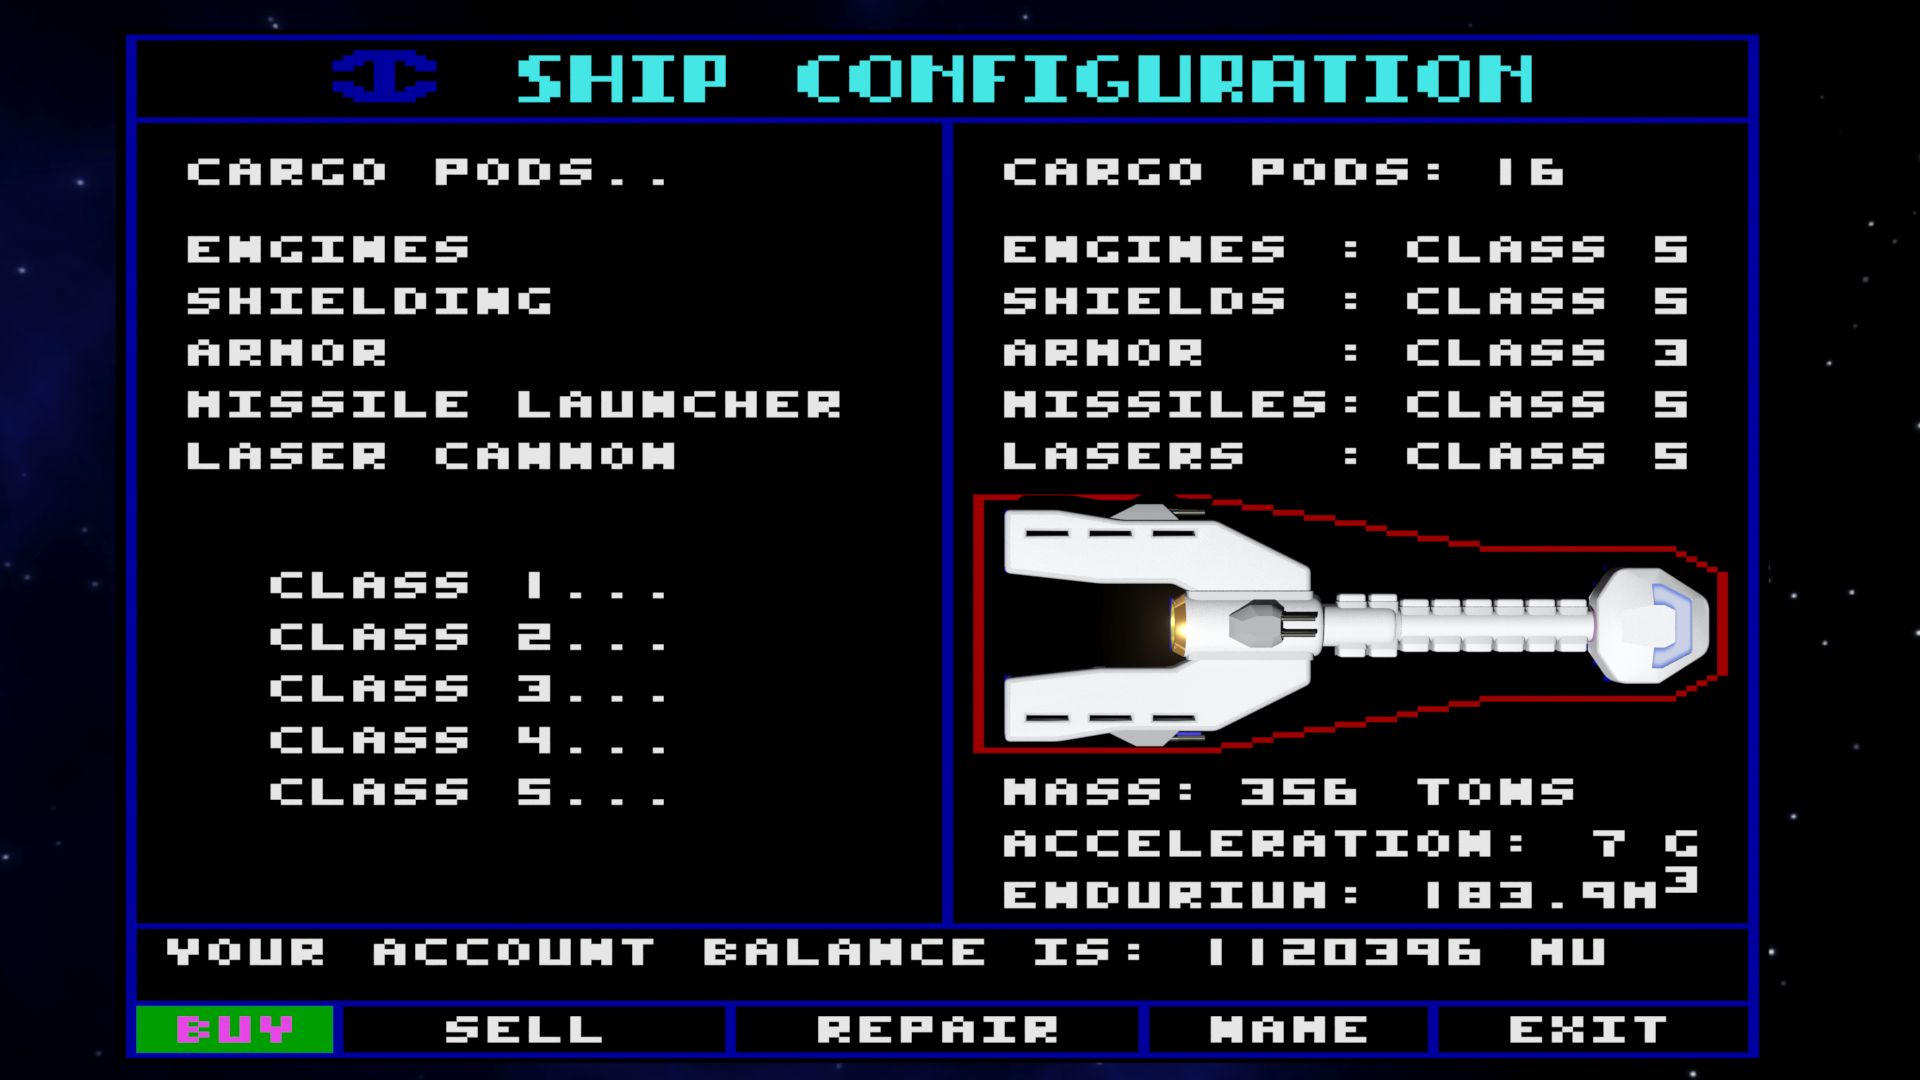
What I did first was start with the original game’s ship configuration screen, bring it into 3D Studio Max, and set up the grid and units so that one square foot is exactly one square pixel on the game screen.
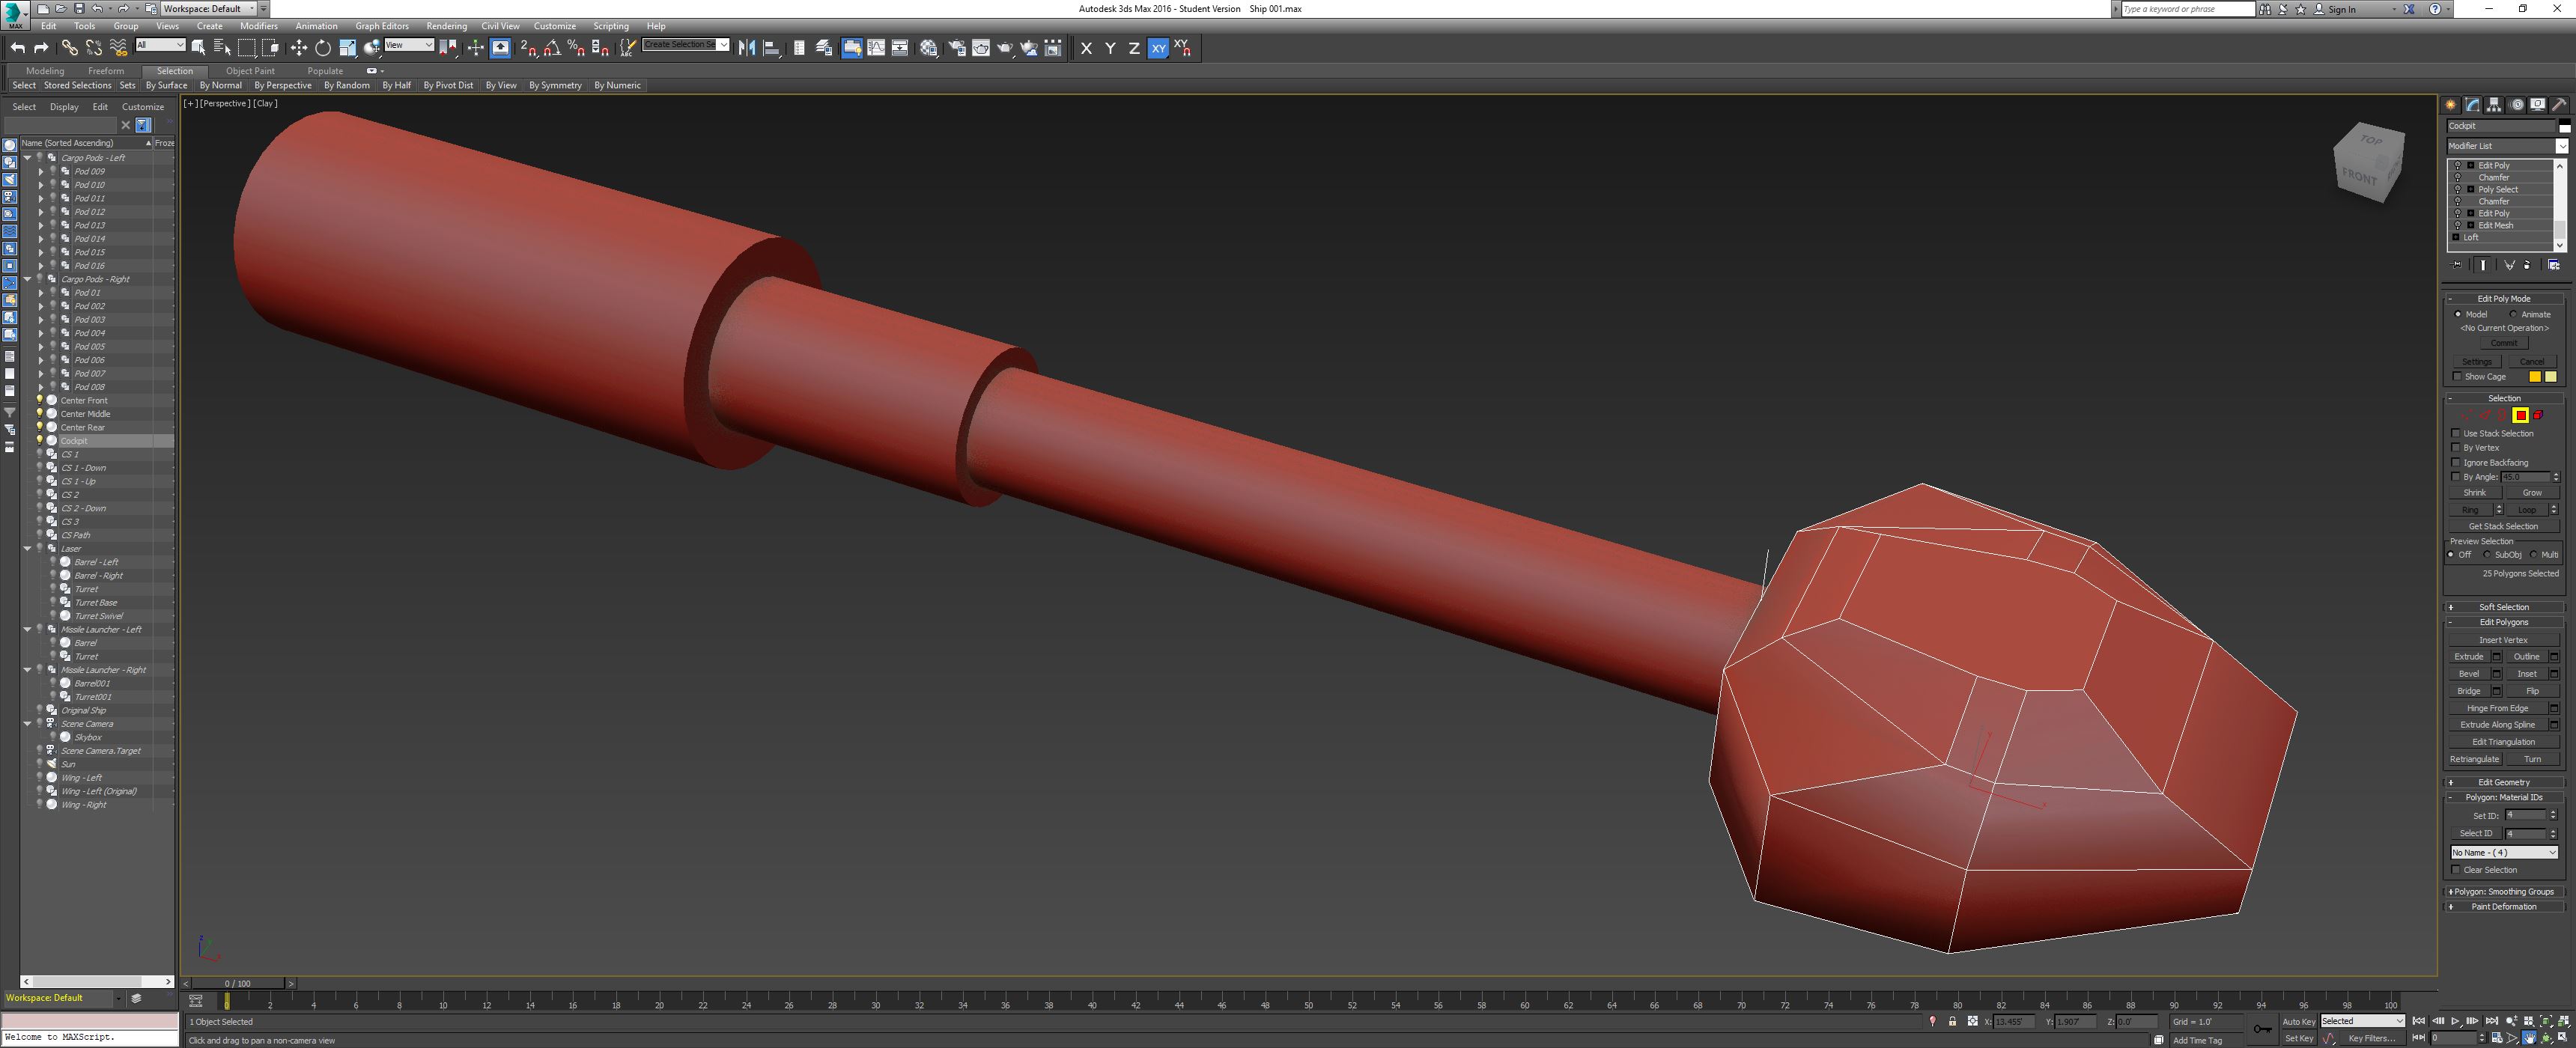
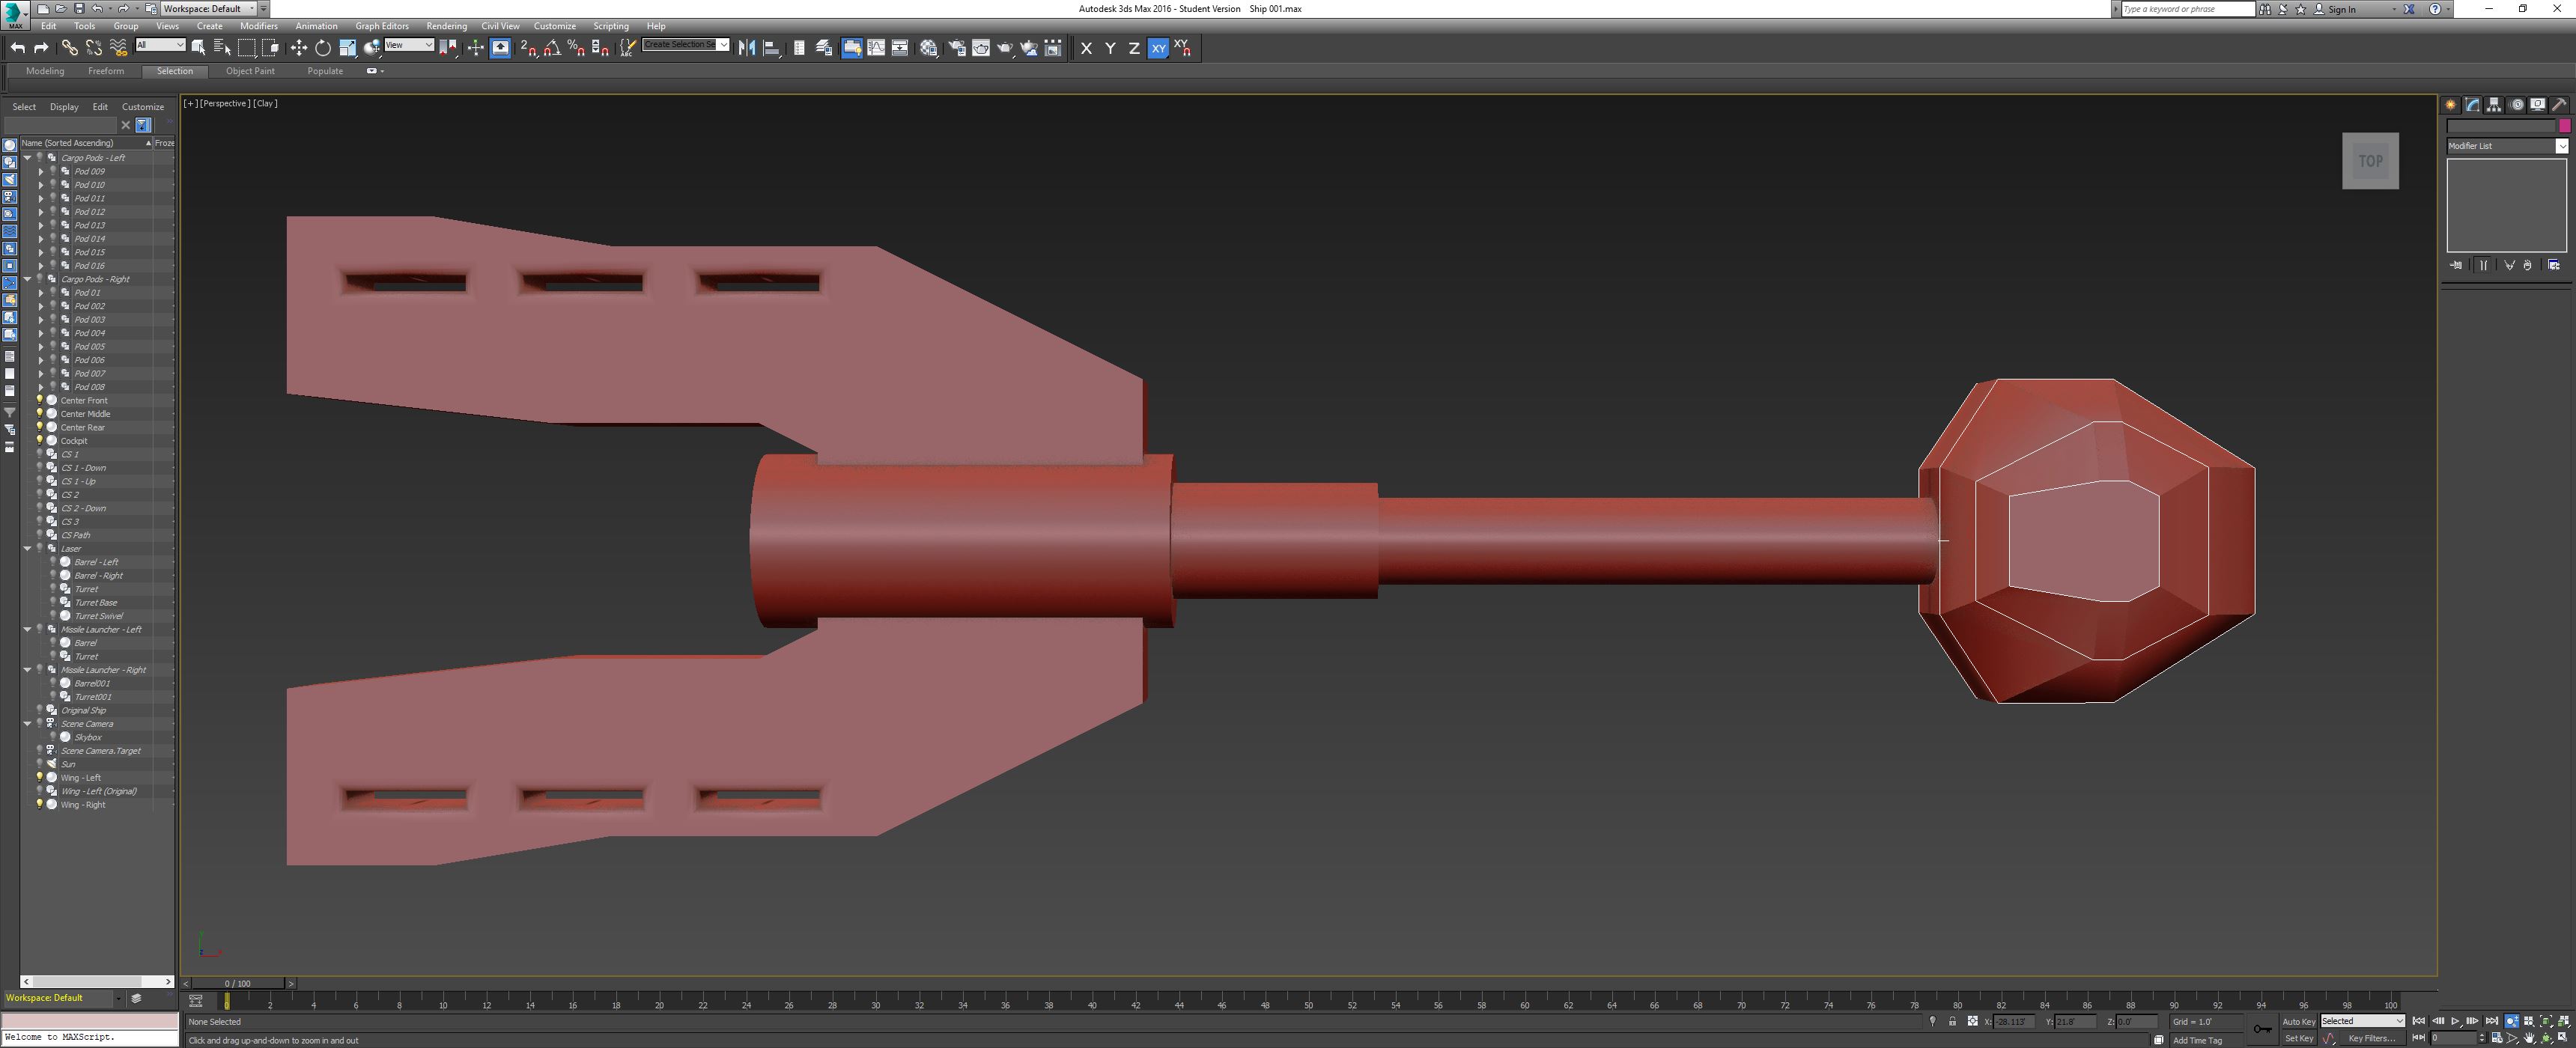
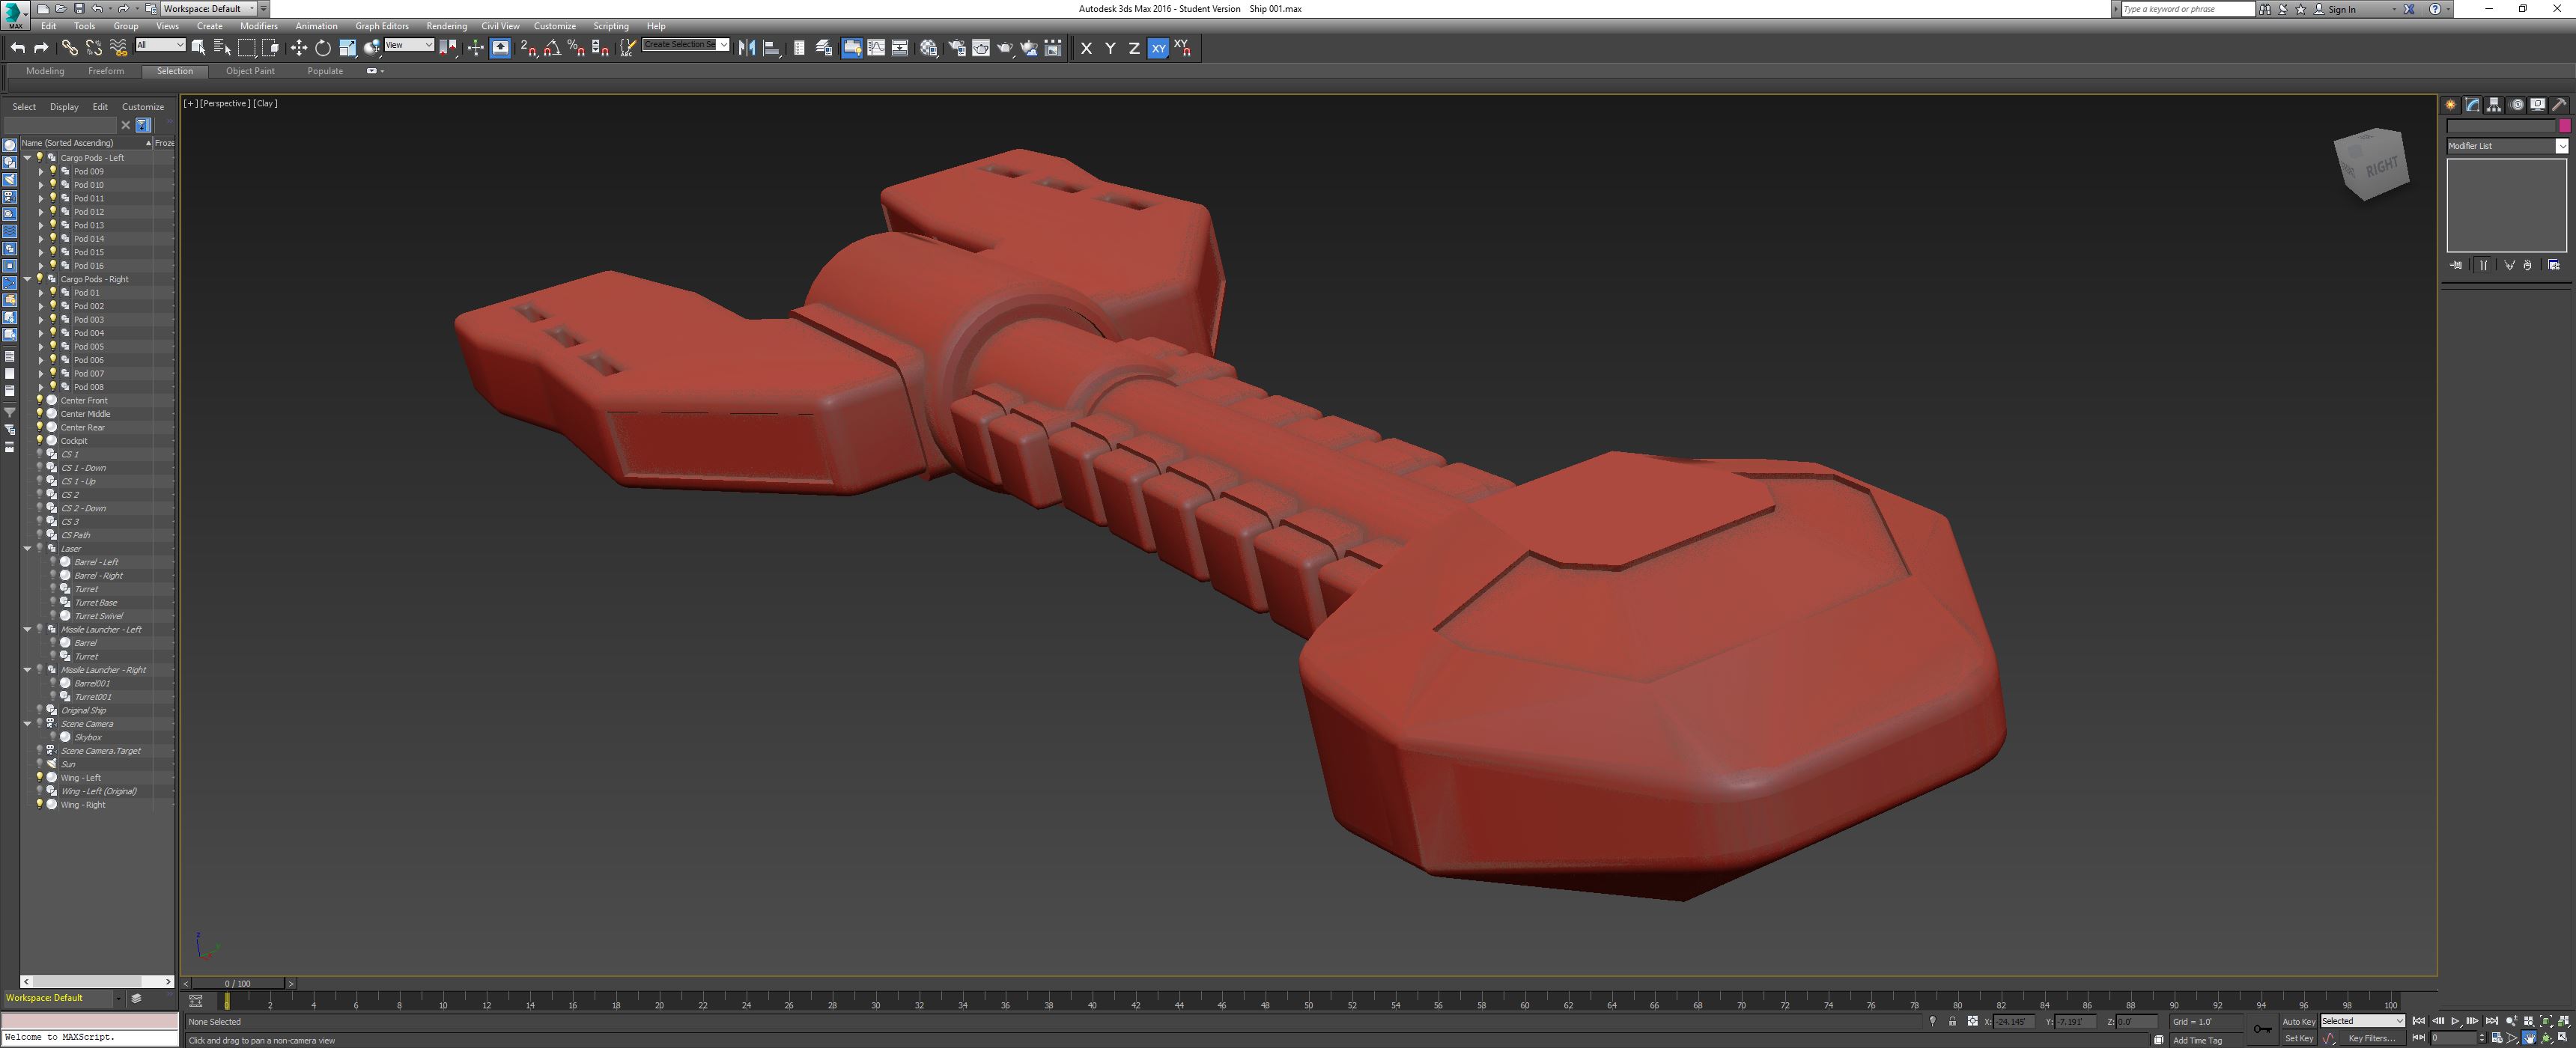
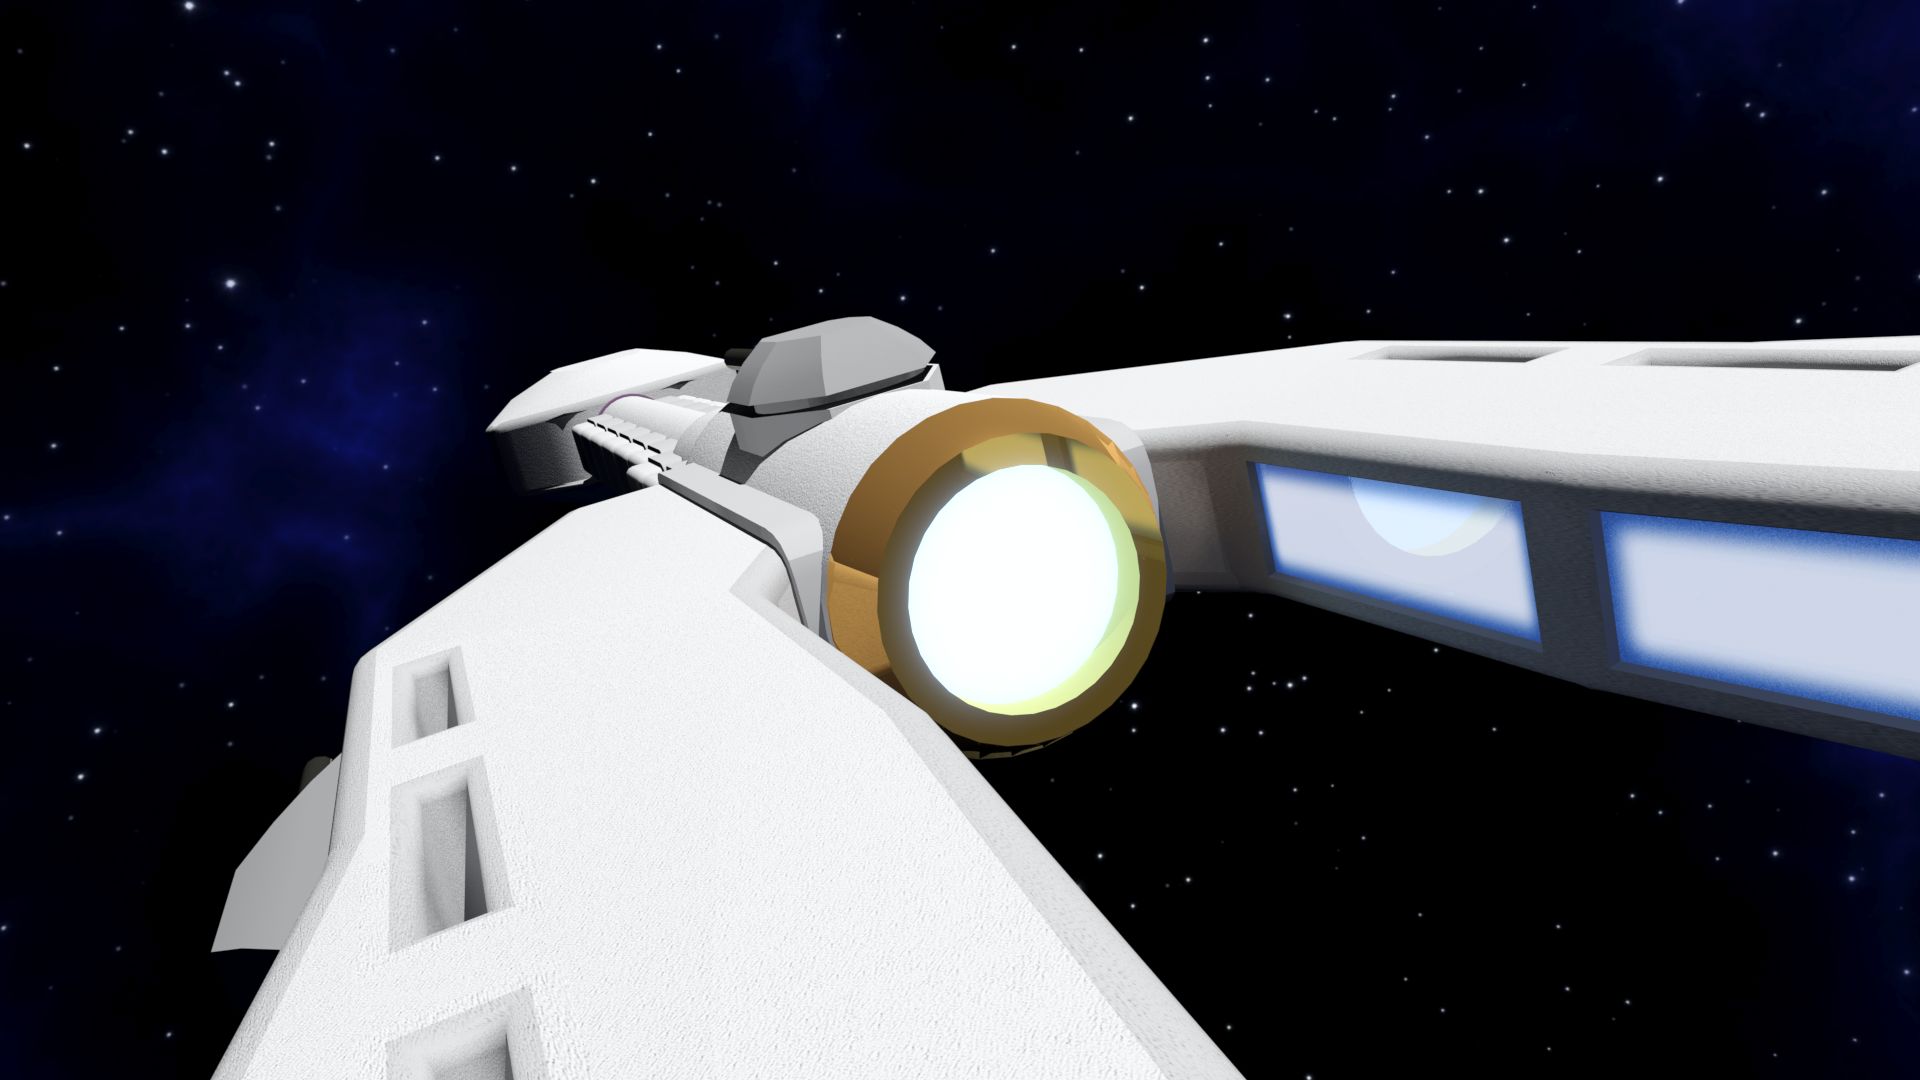
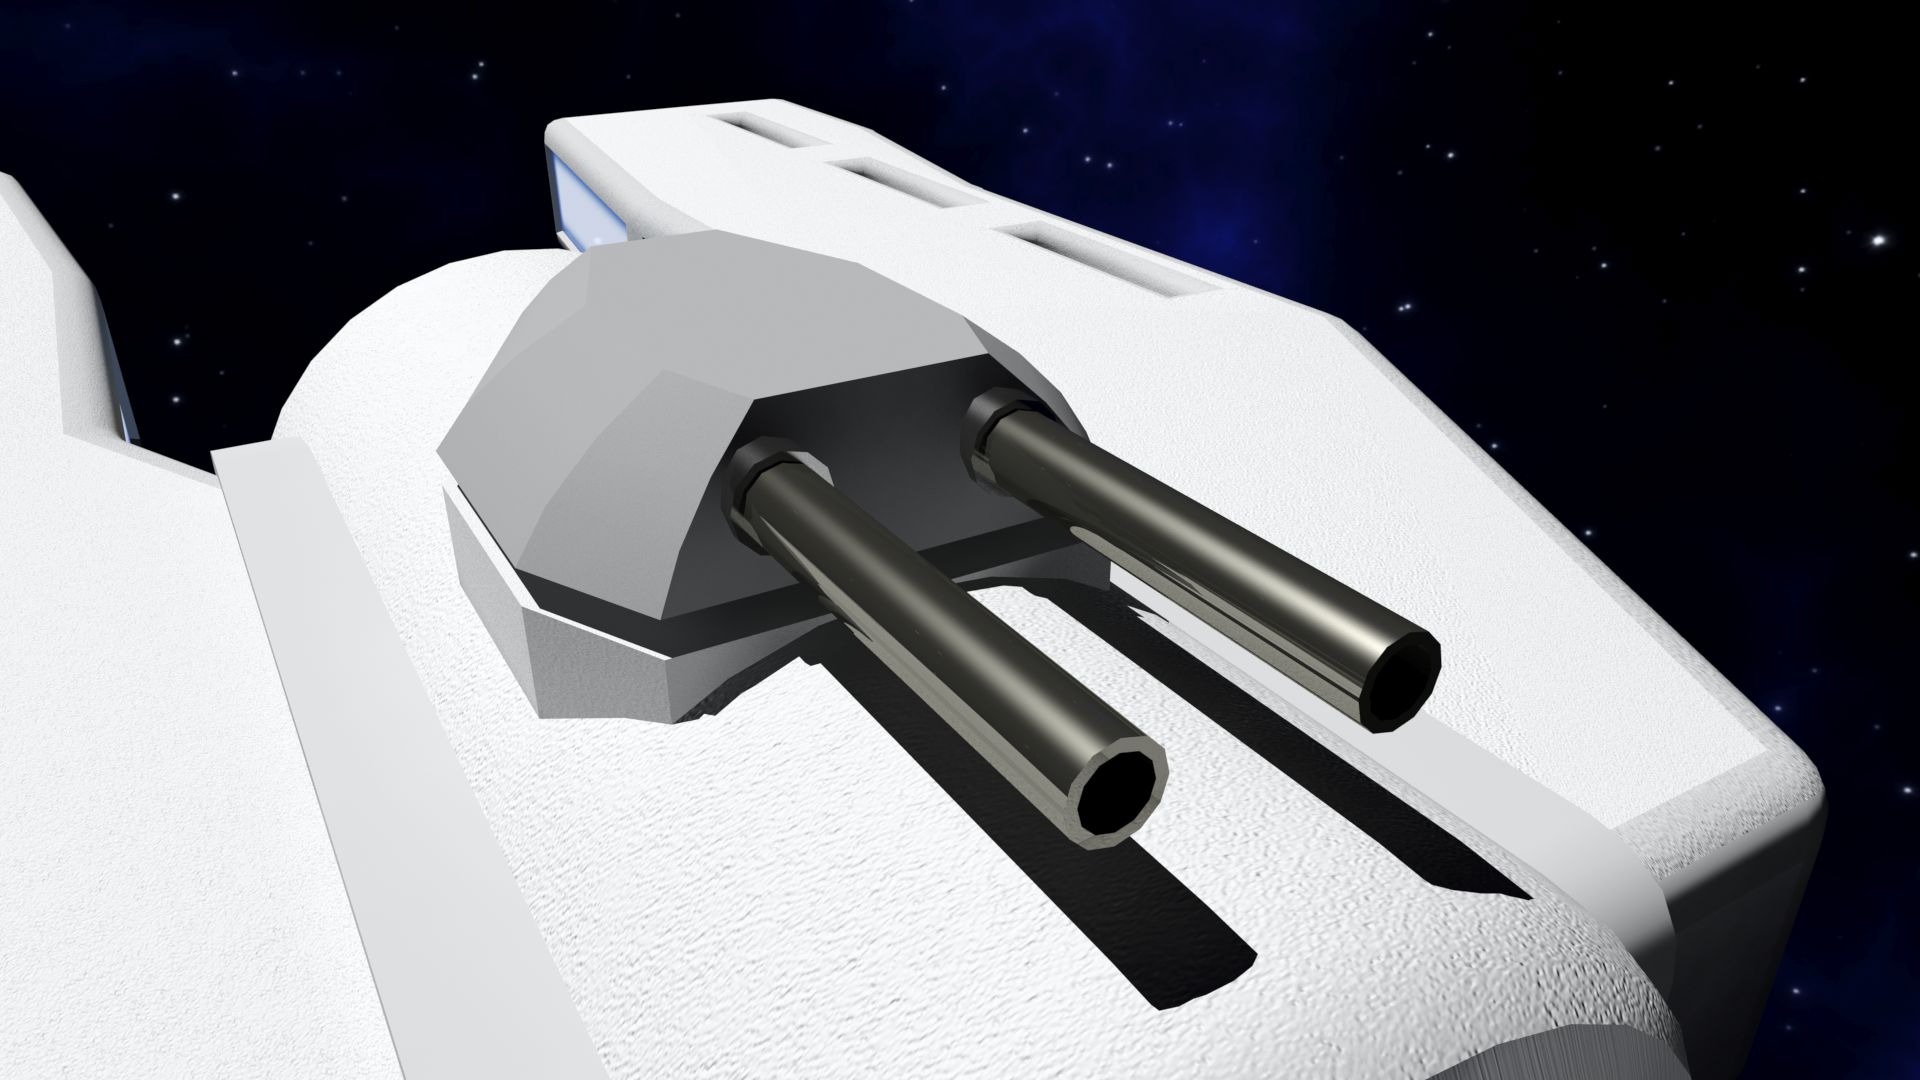
Then I started creating 2D splines outlining the various sections of the ship’s hull, cargo bays, and weapons turrets. From those 2D splines, I used the compound loft tool to create the general 3D shape. Then I edited each model and used chamfer, extrude, and other fun tools to impose my will upon them. The really cool thing is, if you look at the ship top down, the profile is still exactly the same as in the original game.
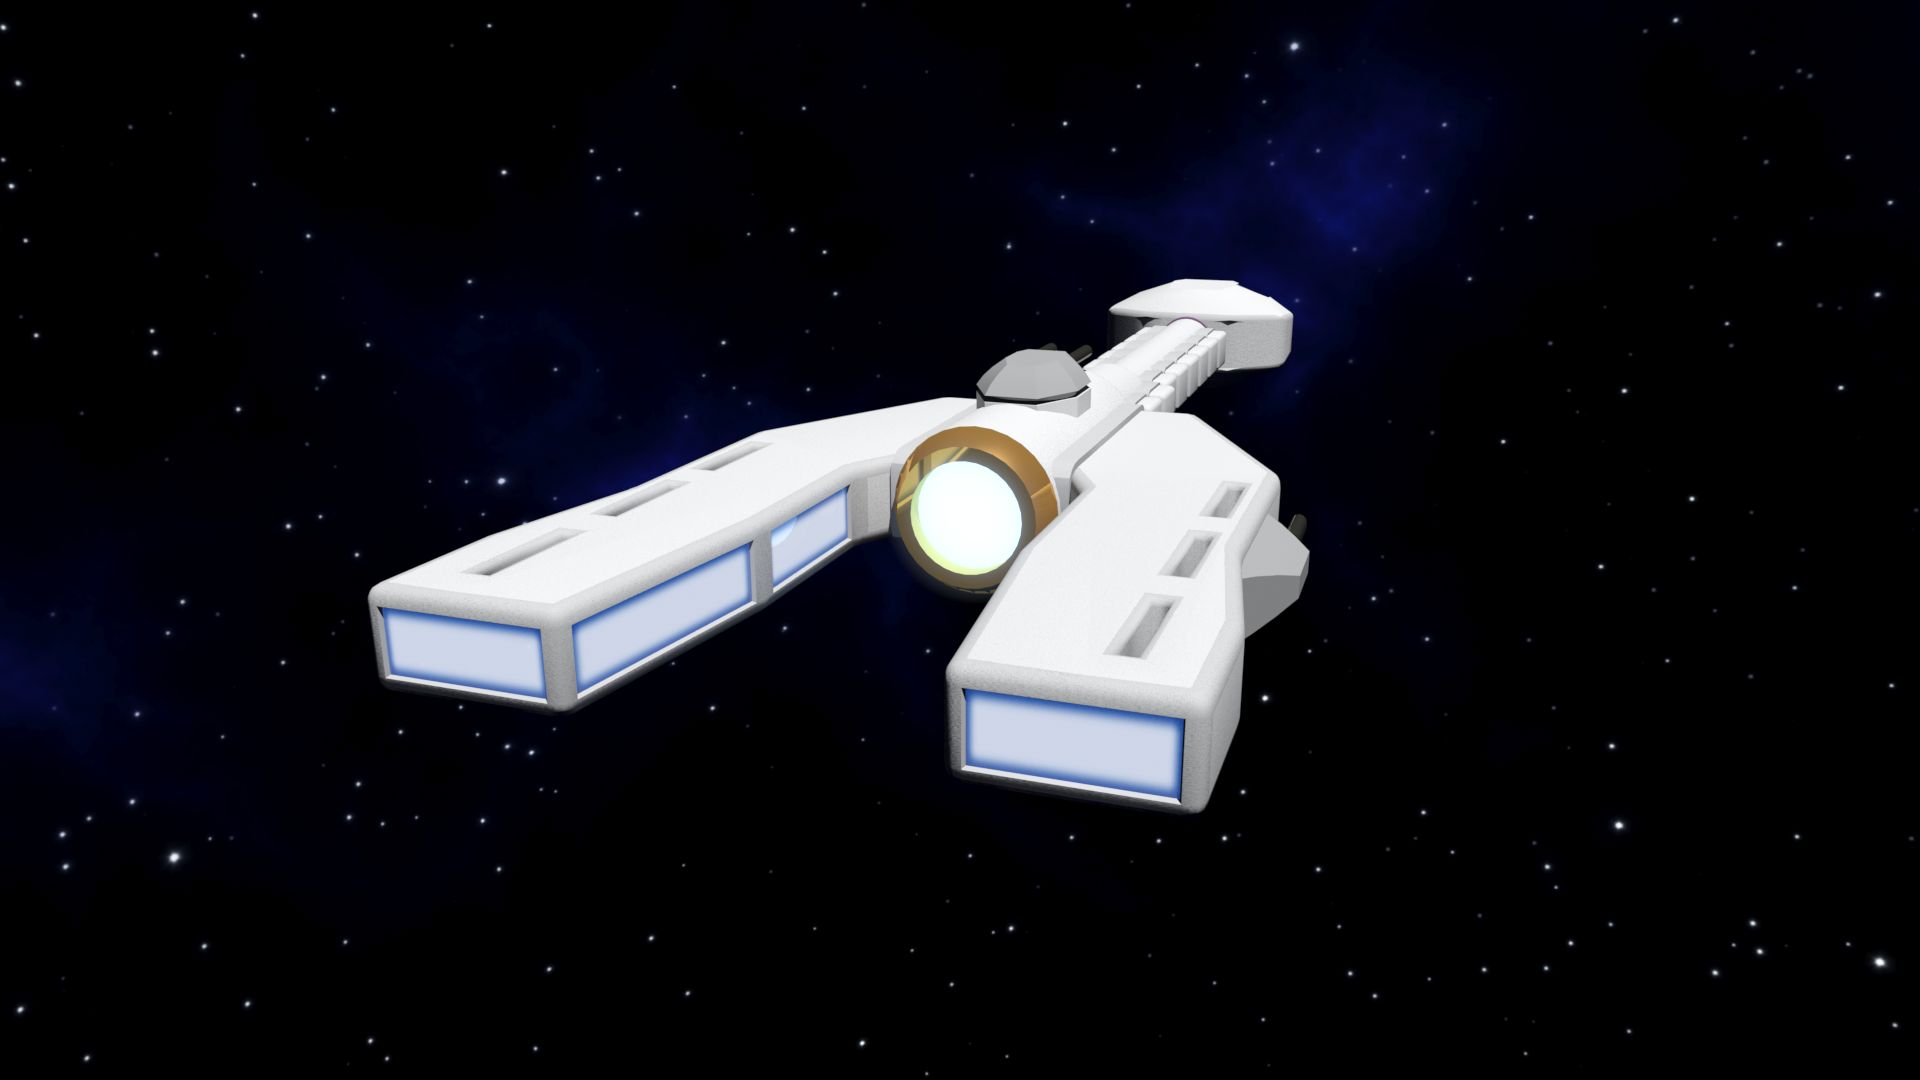
I am not entirely satisfied with the cockpit area of the ship. To me, it looks too much like a snake’s head. Then again, so did the cockpit in the original game! I am also having a bear of a time trying to texture map this puppy. No matter what I do, it just looks wrong or cheap. I am going to have to solicit the aid of someone to help me out with the texture mapping.
Here are a few screen shots of what it looks like in 3D Studio Max, as well as some renders using Mental Ray. It’s coming along quite nicely! All of the files for this ship can be found in the Max\Ship folder.




Leave A Comment